Create and run an Inventory
The life of an Inventory
| Status | What it means |
|---|---|
| Scheduled | Still being set up. Counters can't see it. No licence used yet. |
| Approved | Everything's set. One Inventory licence is used when it is approved. Waiting for the supervisor to start the count. |
| Active | Counting is on. Counters can join and submit. You have a 72-hour window to collect scans. |
| Closing | Field counting has stopped and phones can't upload. Portal corrections are possible only while the original 72-hour write window is still open. |
| Completed | Final reports are out and the data is frozen. |
| Cancelled | Aborted. Cancellation is allowed only if no counting data or history has ever been accepted. An eligible Approved/Active cancellation returns the licence in its original tier. |
1. Create the Inventory (Admin)
Go to Supervise → Inventory, click Schedule an Inventory, and enter:
- A name
- The site — each Inventory covers one site
- Time zone and planned start/end times
- At least one Supervisor
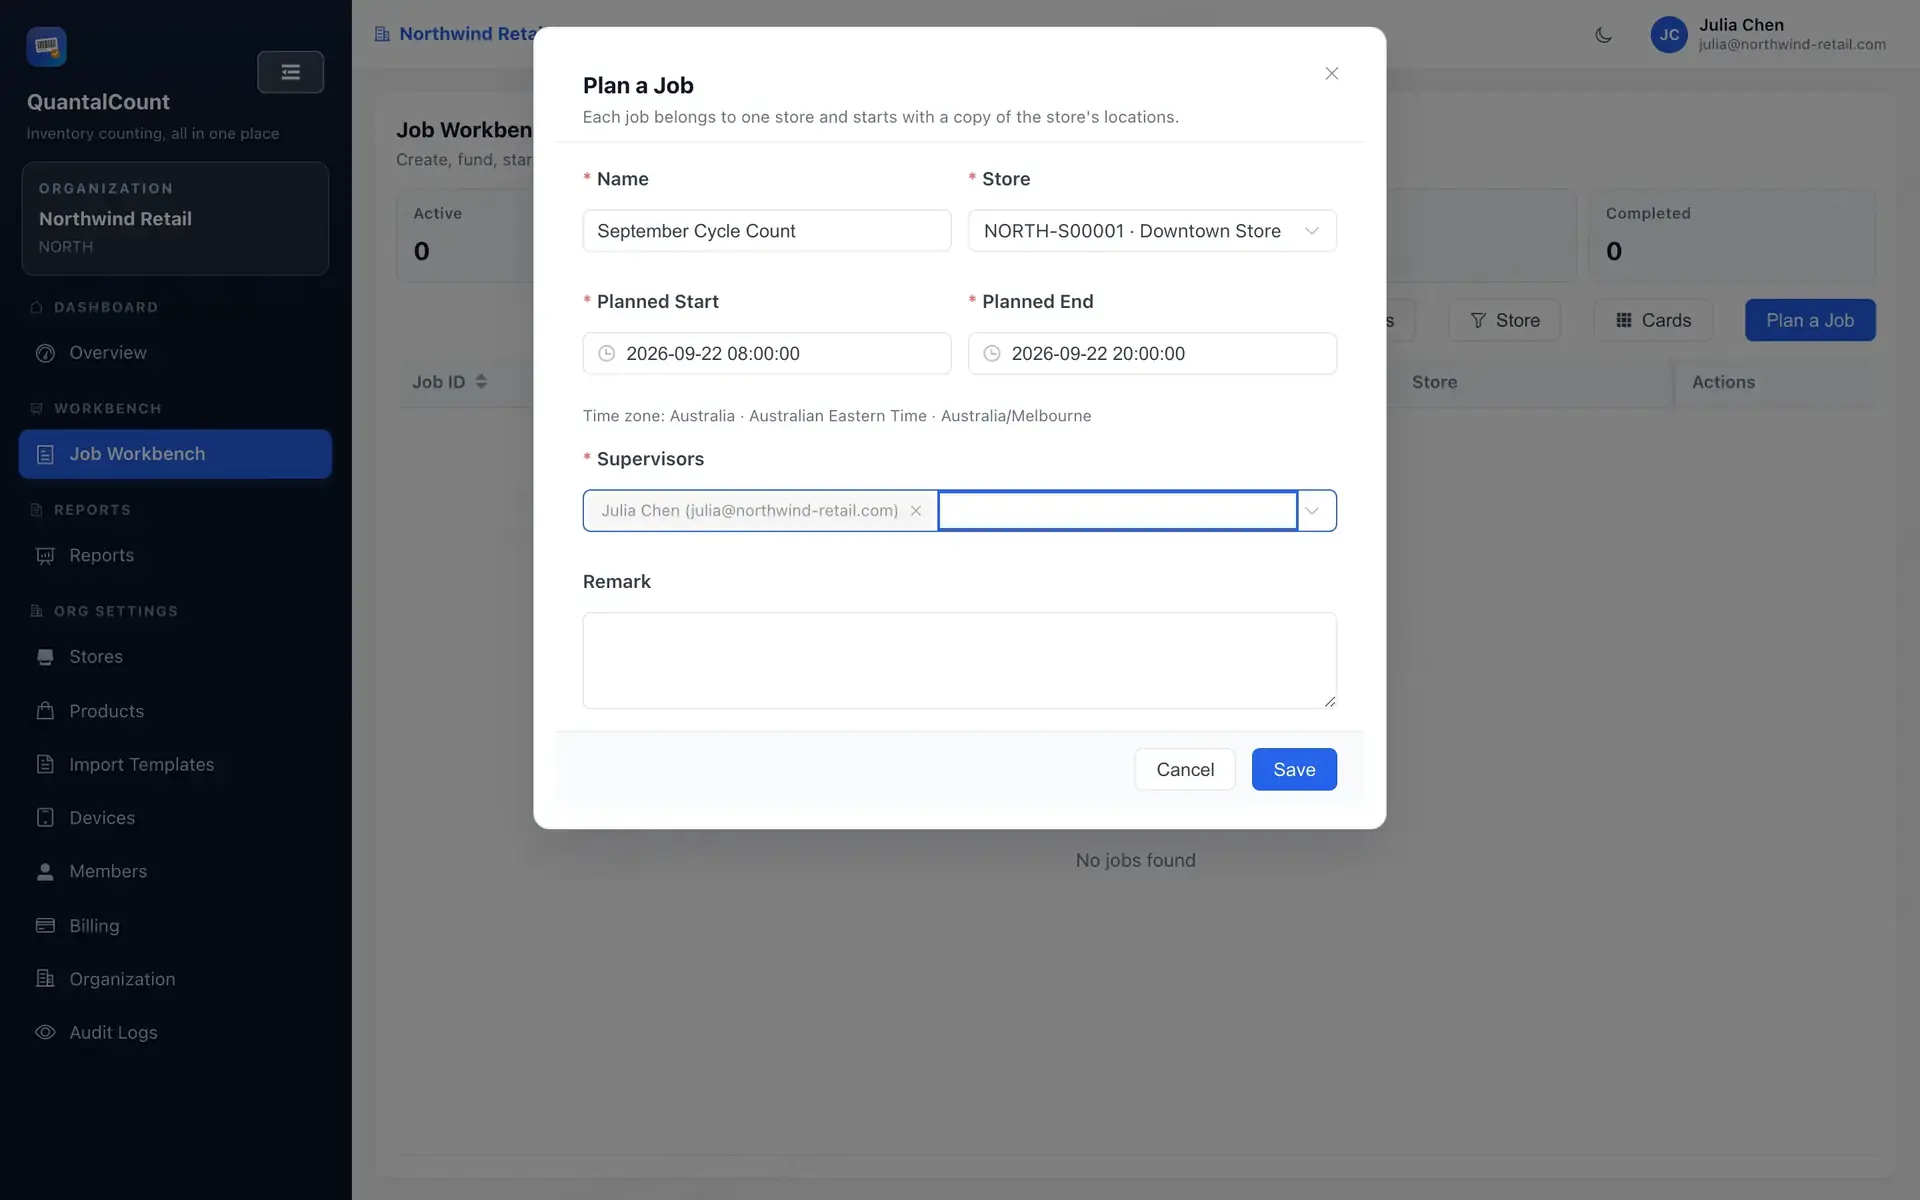
New Inventories start as Scheduled. Use the sections on the Inventory page to check locations and people.
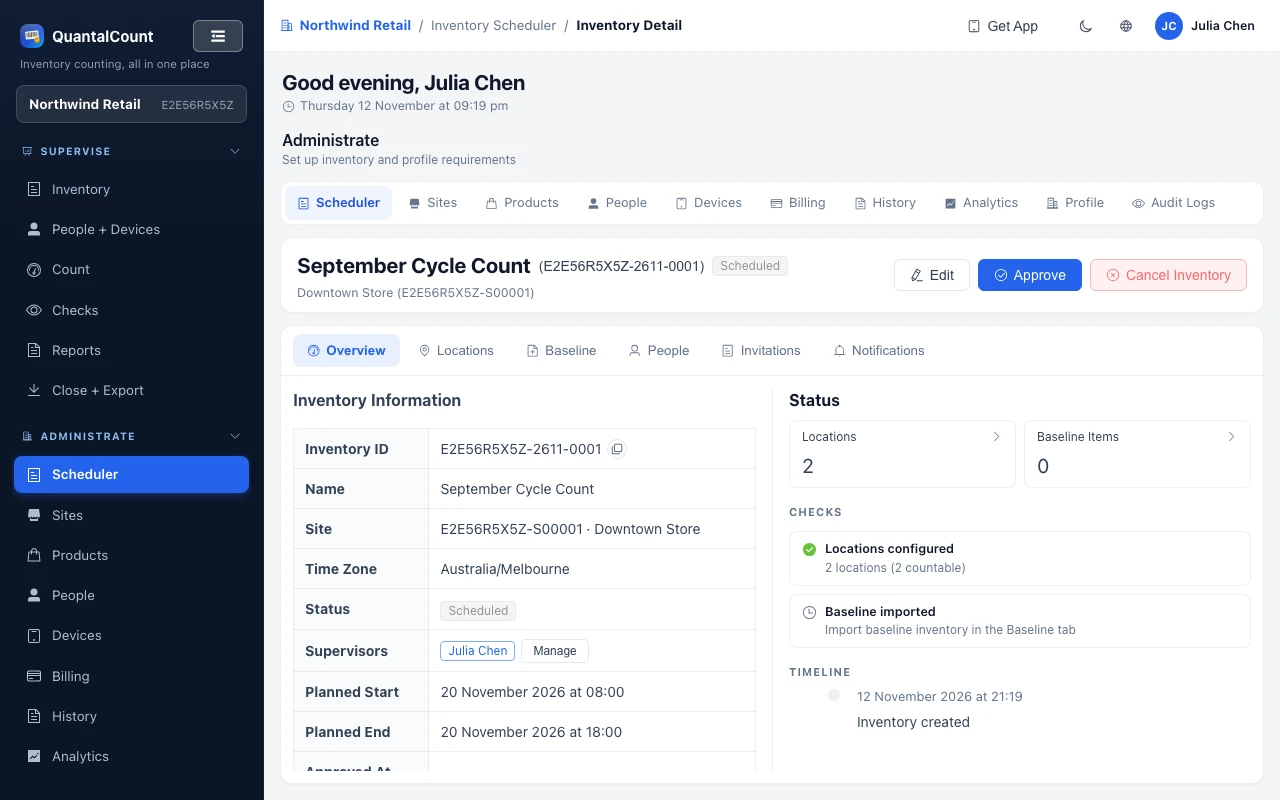
The baseline file — upload before closeout
Counting doesn't require the baseline, but Checks + Variance → Variances and reports use it. Upload it in the Inventory's Baseline panel while the Inventory is Scheduled, Approved or Active. Closing does not accept baseline imports.
- Preview first. Up to the first 50 data rows are labelled matched, unmatched, ambiguous or invalid. Product-match statuses are advisory: valid unmatched and ambiguous rows are still imported. Invalid rows are skipped and included in the import error report.
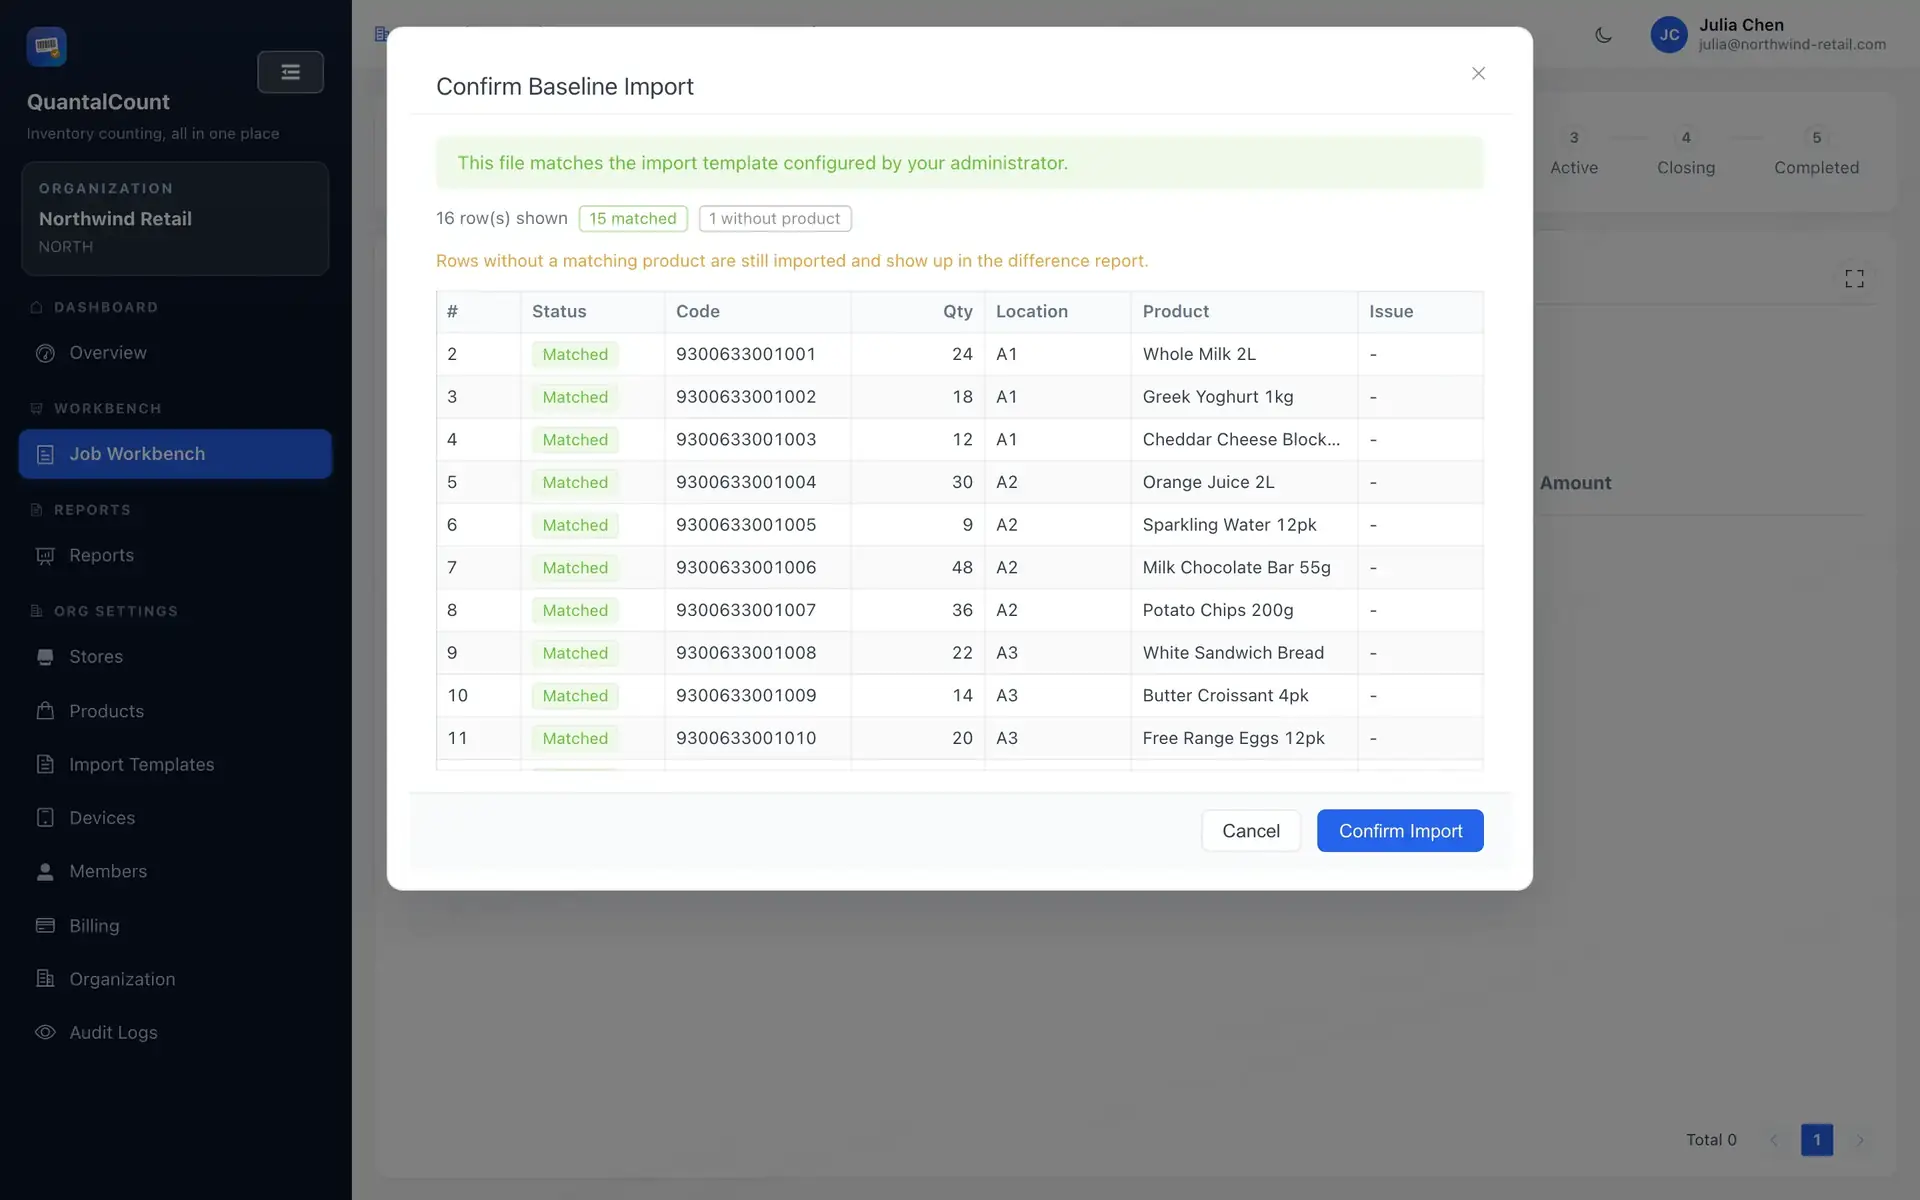
- Applying the import replaces the whole baseline for the Inventory. Applicable rows are loaded, including codes that aren't in the bound product catalogue; matching happens later, when reports run.
2. Approve (Admin)
When everything looks good, approve the Inventory:
- This uses one Inventory licence from your balance. The confirmation dialog shows you the impact before you confirm.
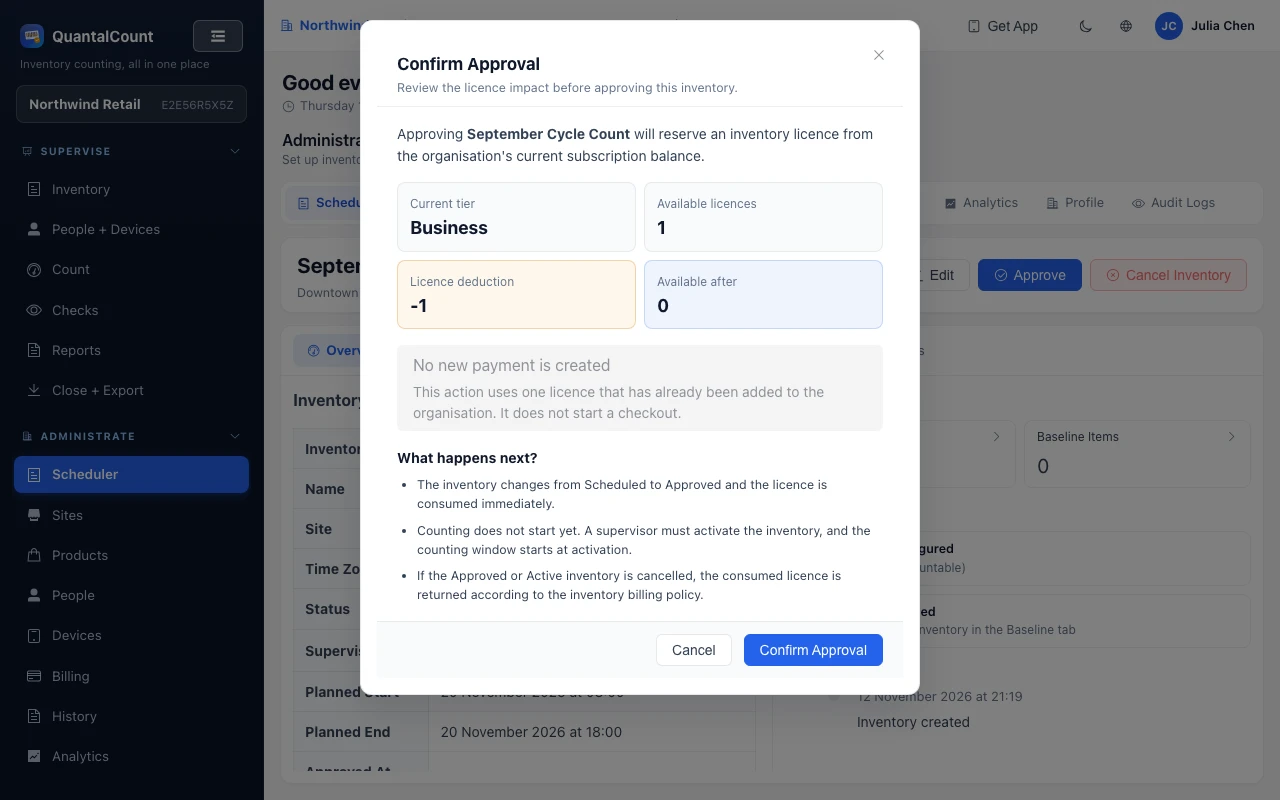
- If your balance is empty, you'll see a payment prompt and can buy licences right there.
- You need at least one supervisor first. A countable location is checked when the Inventory is started, not when it is approved.
3. Start counting (Supervisor)
The supervisor activates the Inventory on site. This re-checks your subscription but does not use another licence. Activation starts the 72-hour collection window.
4. Counters join and scan
While the Inventory is Active, click Counter QR code in the Inventory header, or show the QR from the mobile app. Counters scan it in their app and they're in. An admin can also grant access by importing counter accounts under People + Devices → People.
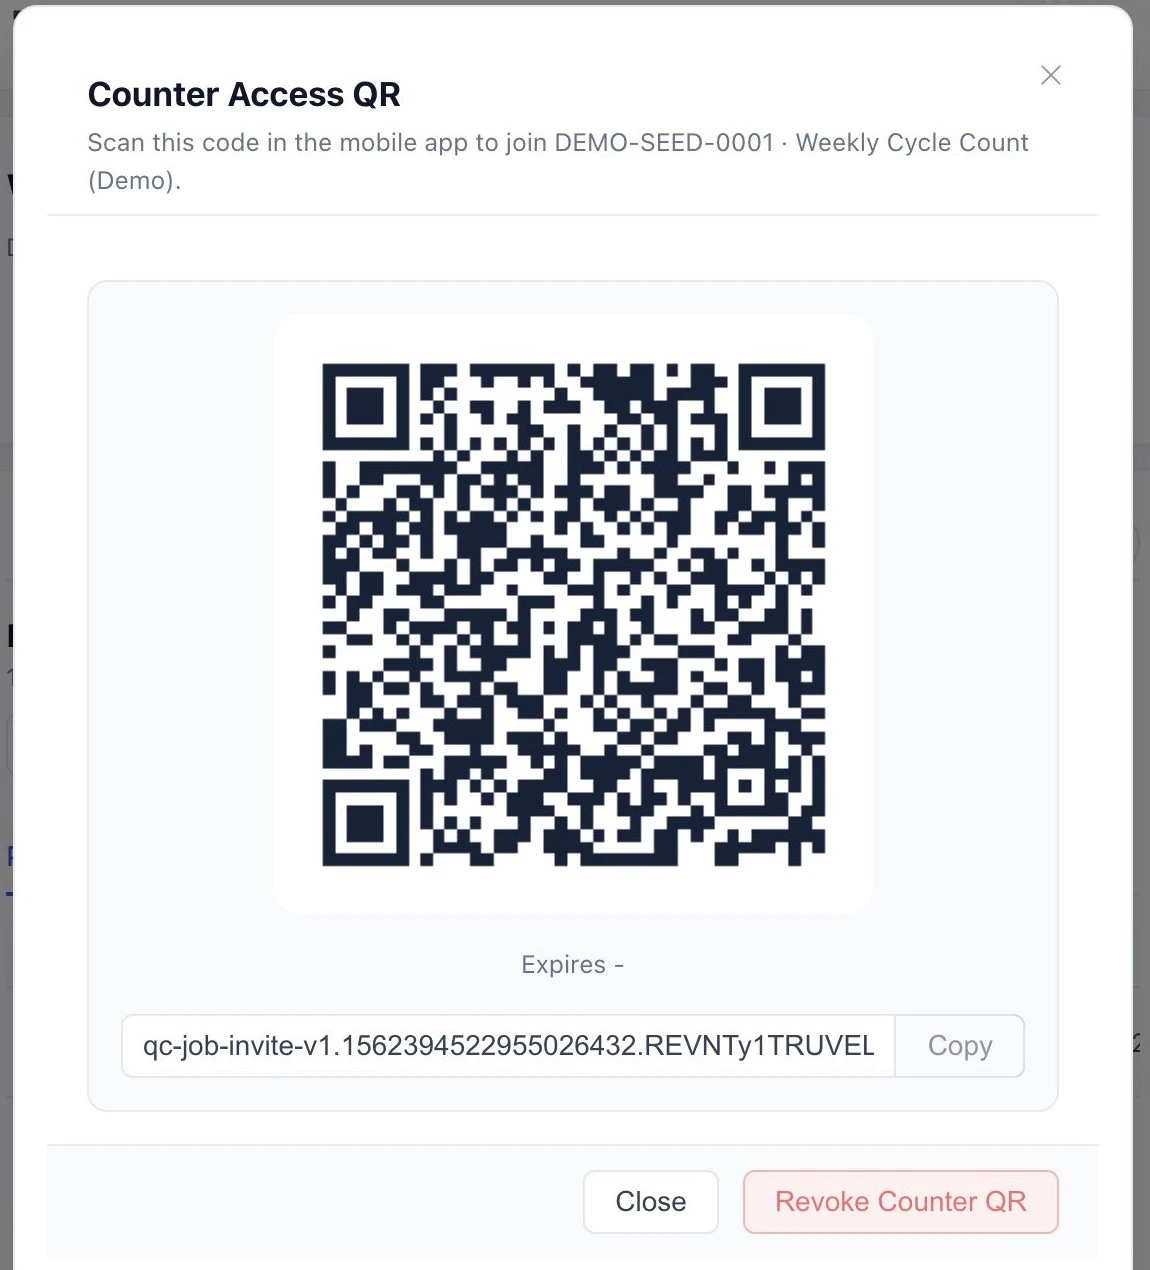
Counter access has no timed expiry by default, but counting and uploading still require an Active Inventory and an open collection window. Only an organisation admin can revoke a person's existing access under People + Devices → People. Supervisors can revoke QR invitations under Invitations; regenerating or revoking a QR doesn't remove anyone who already joined.
5. Wrap up (Supervisor)
When the floor is done:
- If you haven't uploaded the baseline, do it now while the Inventory is still Active. If you already entered Closing, Reopen to Active and upload it before closing again.
- Click Go to Closeout. Phones can no longer upload (unsent scans stay safely on the devices).
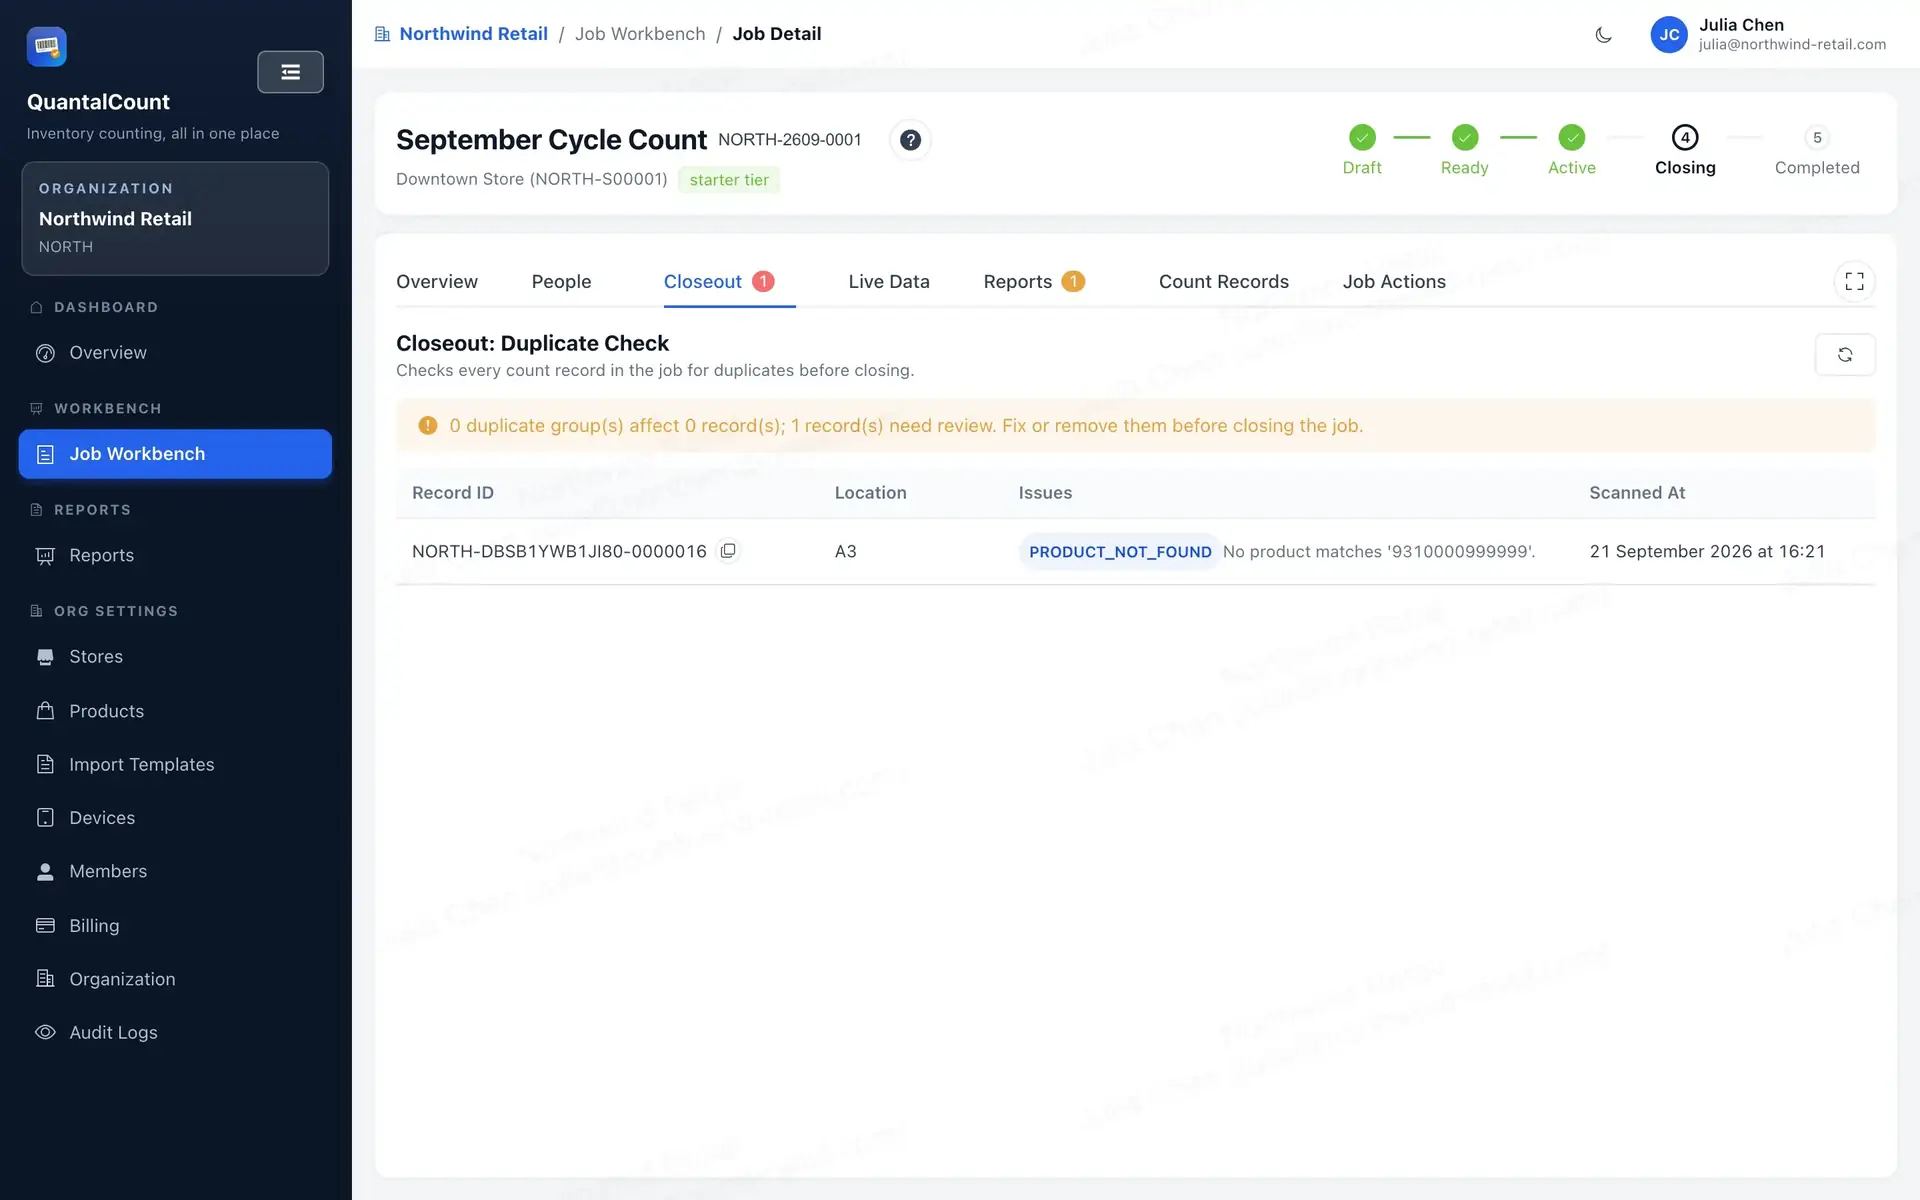
- Resolve duplicates and completion-blocking validation issues in the portal. Not-on-file (NOF) records can remain: their quantities still count, and they do not block completion.
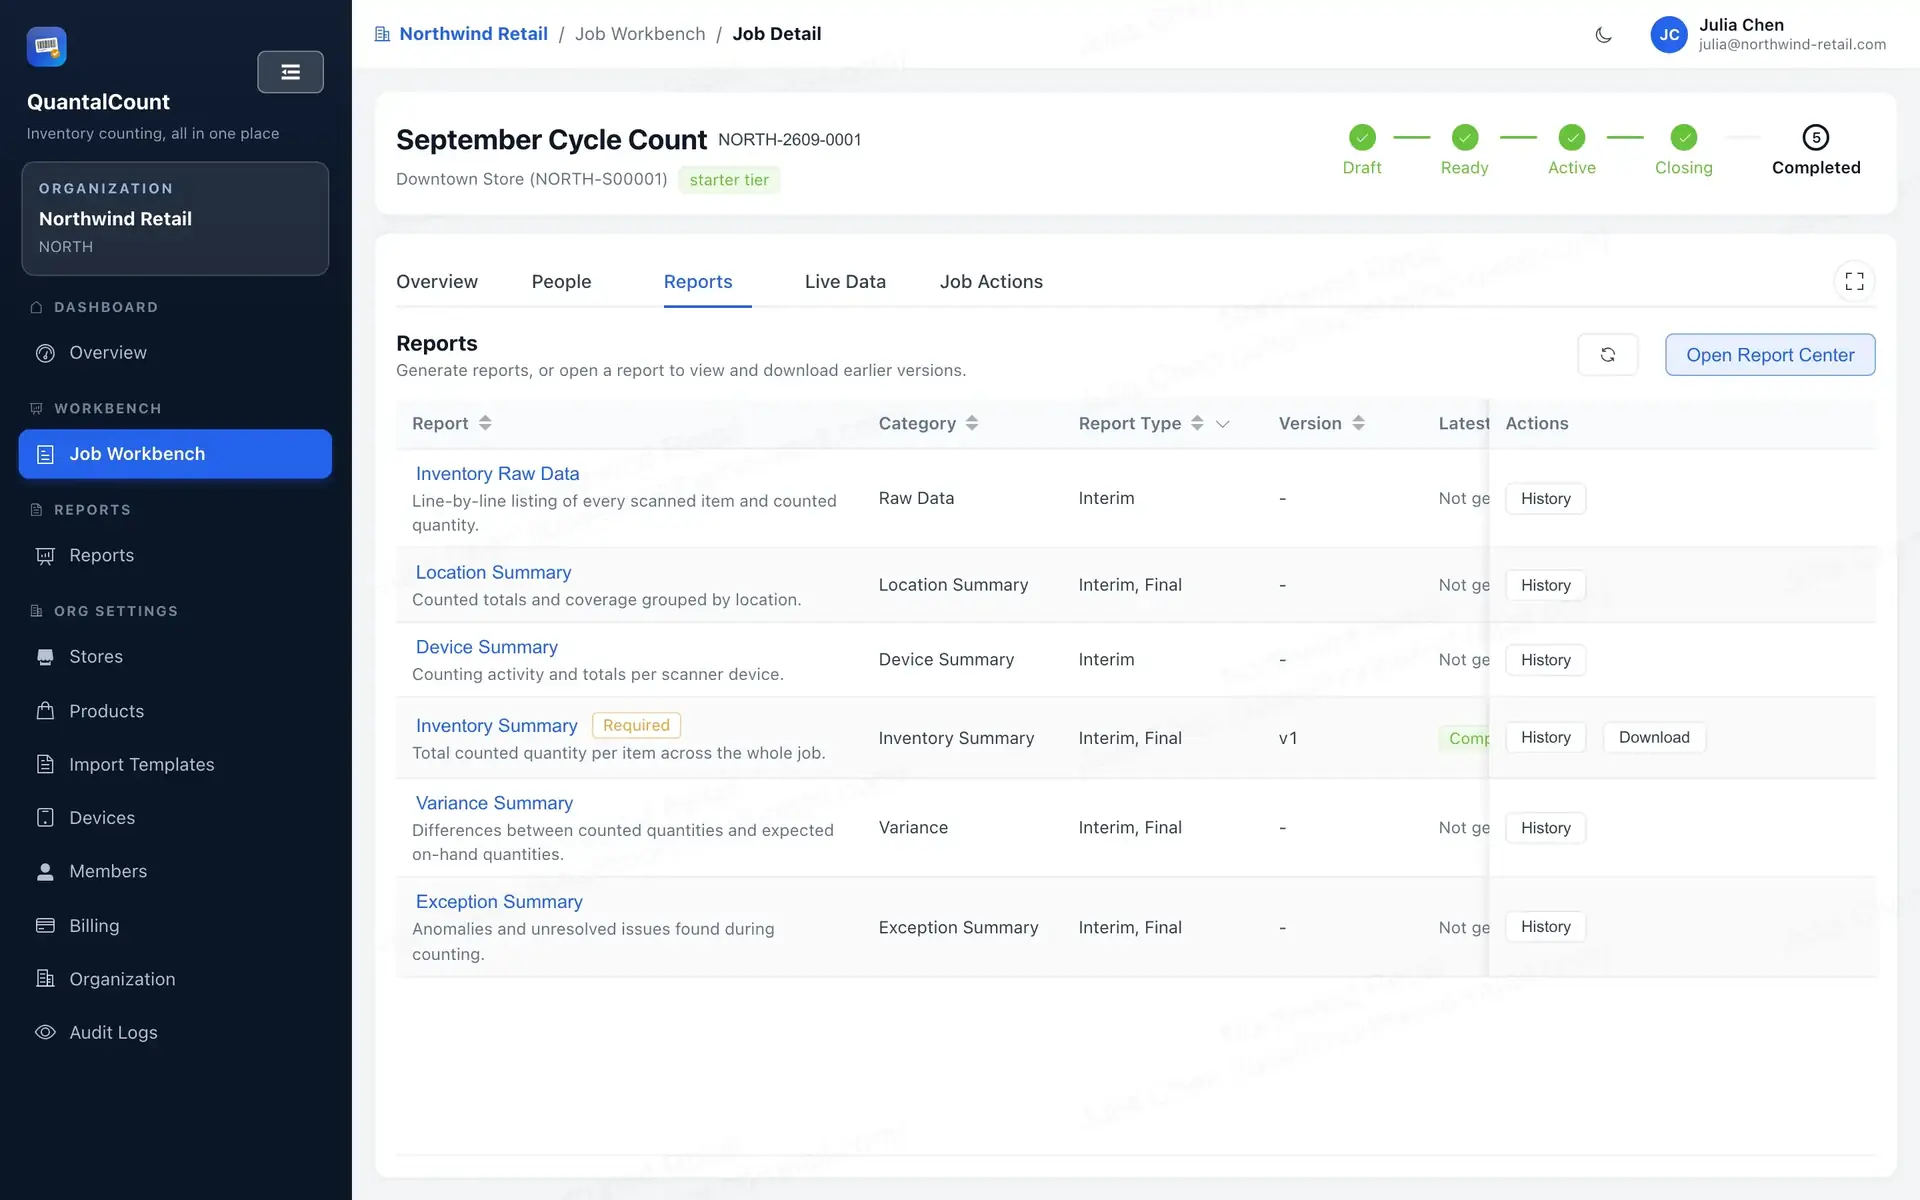
- Generate the Inventory Summary (Final) report — the Inventory can't complete without it.
6. Complete
Complete the Inventory. QuantalCount saves a copy of the product list at that moment, so your reports stay correct even after you upload a new catalogue later.
Need to count a bit more? Reopen moves the Inventory back to Active, but it doesn't restart or extend the original 72-hour write window. Phones can upload again only while that window and subscription access remain valid.